
A to Z in Adobe Illustrator

In this Adobe Illustrator beginner tutorial you'll take a look at 26 tips, tricks, and hacks. All resources used in this video are from Envato Elements

A - Direct Selection Tool
The Direct Selection tool (A) lets you select, move, or modify specific points or path segments in a path or a shape. Any objects in Adobe Illustrator are created of Anchor Points. The Direct Selection tool allows you to select individual points of any object. You can move the anchor and create a new shape or you can select segments of any object and drag them to create any shape you want.

B - Paintbrush Tool
The Paintbrush tool (B) is used to create free-form paths that can have a more hand-drawn feel. Using brushes will greatly improve your Illustrator productivity and help you create artwork you never thought possible. The brush types you’ll come across in Illustrator are:
Calligraphic Brush
Scatter Brush
Art Brush
Bristle Brush
Pattern Brush

C - Scissors Tool
The Scissors tool (C) lets you split a path or elements on the canvas at an anchor point or along a segment. Make sure your shape is actively selected and then press C to activate the Scissors tool. Scissors tool only works on the outlines. This means that you cannot cut anything inside the illustration.

D - Default Fill and Stroke
In Adobe Illustrator choosing and switching between colors can become difficult shortcuts. The default Fill and Stroke in Adobe Illustrator is a white fill with a black stroke. Select your object and then press D on the keyboard to return to the default colors.

E - Free Transform Tool
The Free Transform (E) tool lets you distort artwork freely. You can scale, shear, and distort objects by using the Free Transform Tool in Adobe Illustrator. You also have the ability to rotate and by using modifier keys or a simple click of a button you can constrain your transformations. To free transform an object, click the Free Transform button on the widget, and then use any of the following methods:
Drag a corner resize handle to scale.
Hold Shift and drag to scale proportionally
Hold down Alt (Win) or Option (Mac), and then drag to scale from the center
Hold down Shift and Alt to scale from the center proportionally.
F - Full Screen
Cycles between screen modes:
Normal Screen Mode
Full Screen with Menu
Full Screen Mode
Just keep hitting F to get back to your choice of Screen Mode.

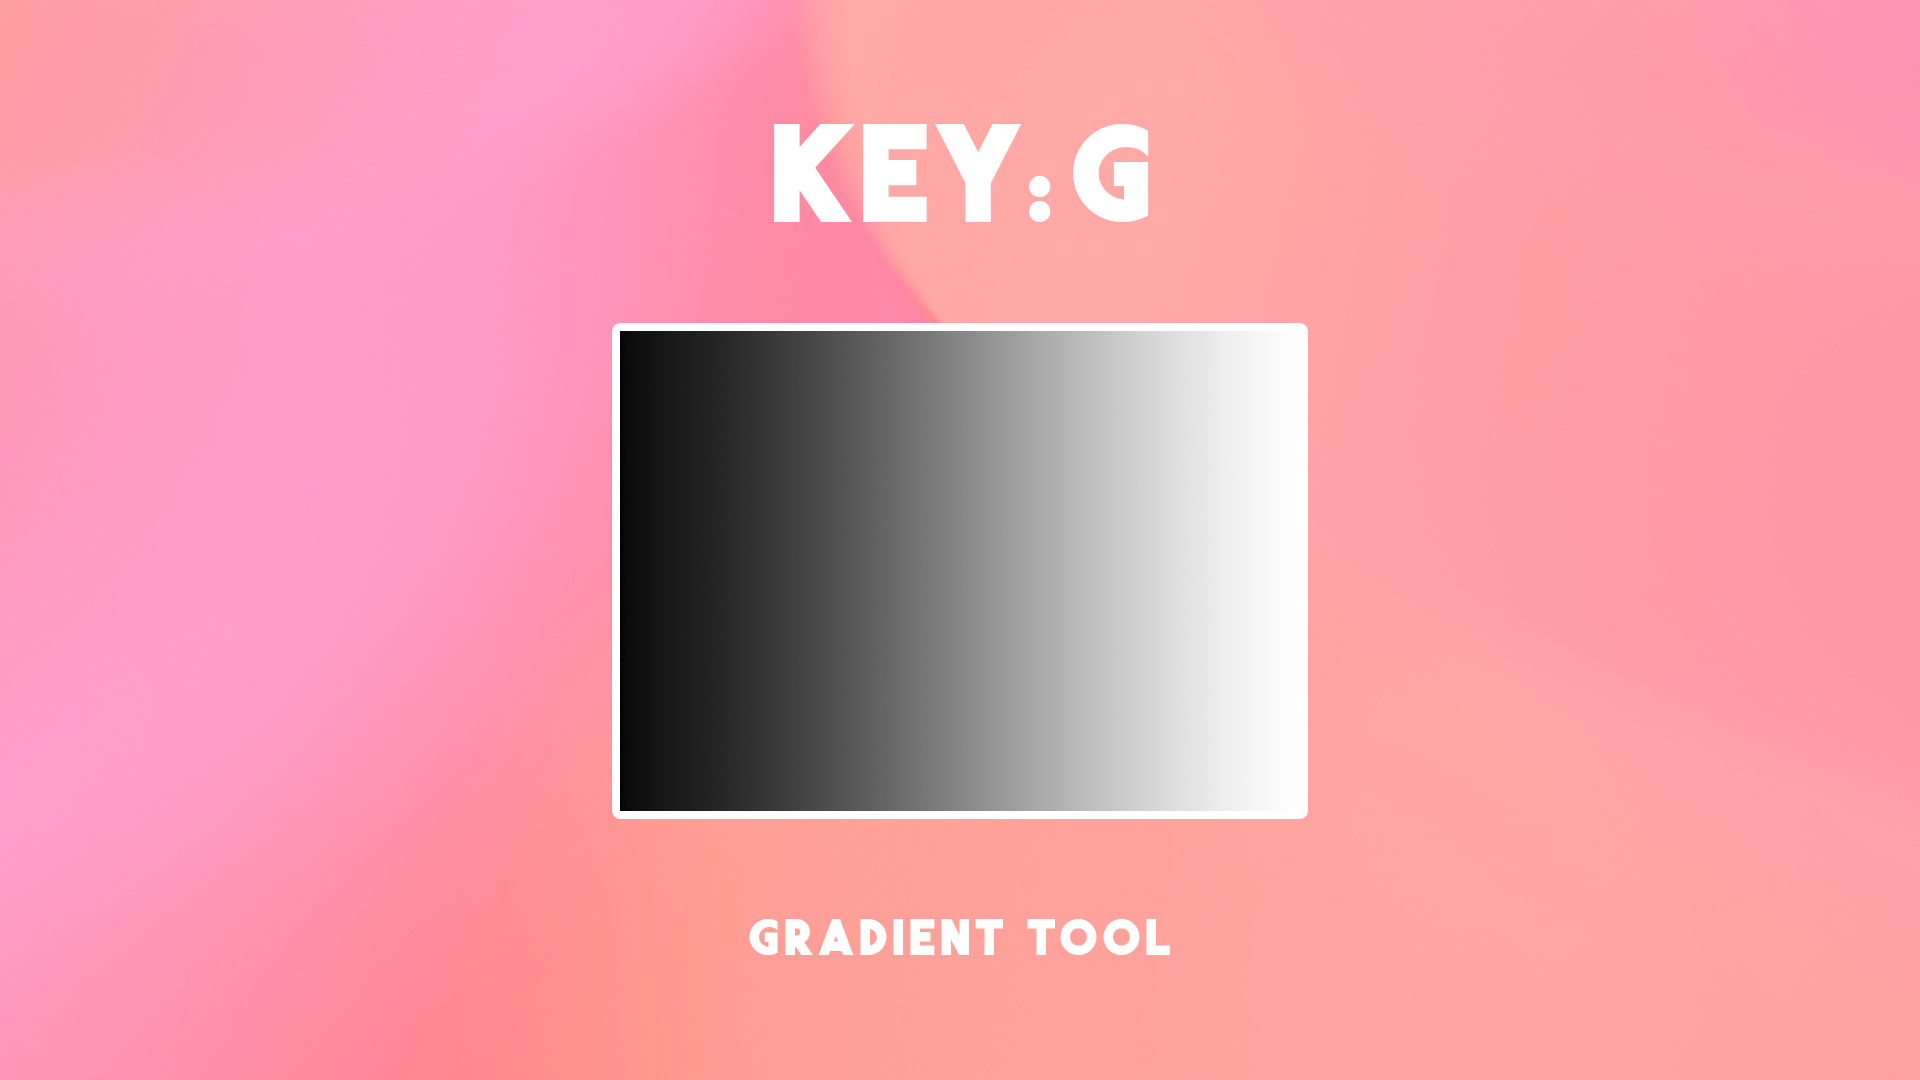
G - Gradient Tool
A gradient is a graduated blend of two or more colors or tints of the same color. You can use gradients to create color blends, add volume to vector objects, add a light or shadow effect to your artwork and to create reflective surfaces such as gold/metallic materials. In Illustrator, you can create three types of gradients:
Linear - blend colors from one point to another in a straight line.
Radial - blend colors from one point to another point in a circular pattern.
Freeform - create a graduated blend of color stops within a shape in an ordered or random sequence such that the blending appears smooth and natural. Freeform gradient can be applied in two modes Points (Use this mode to shade the area around a color stop) and Lines (Use this mode to shade the area around a line).
H - Hand Tool
This often forgotten tool will help speed up your workflow drastically! The Hand tool (H) moves the Illustrator artboard within the illustration window.

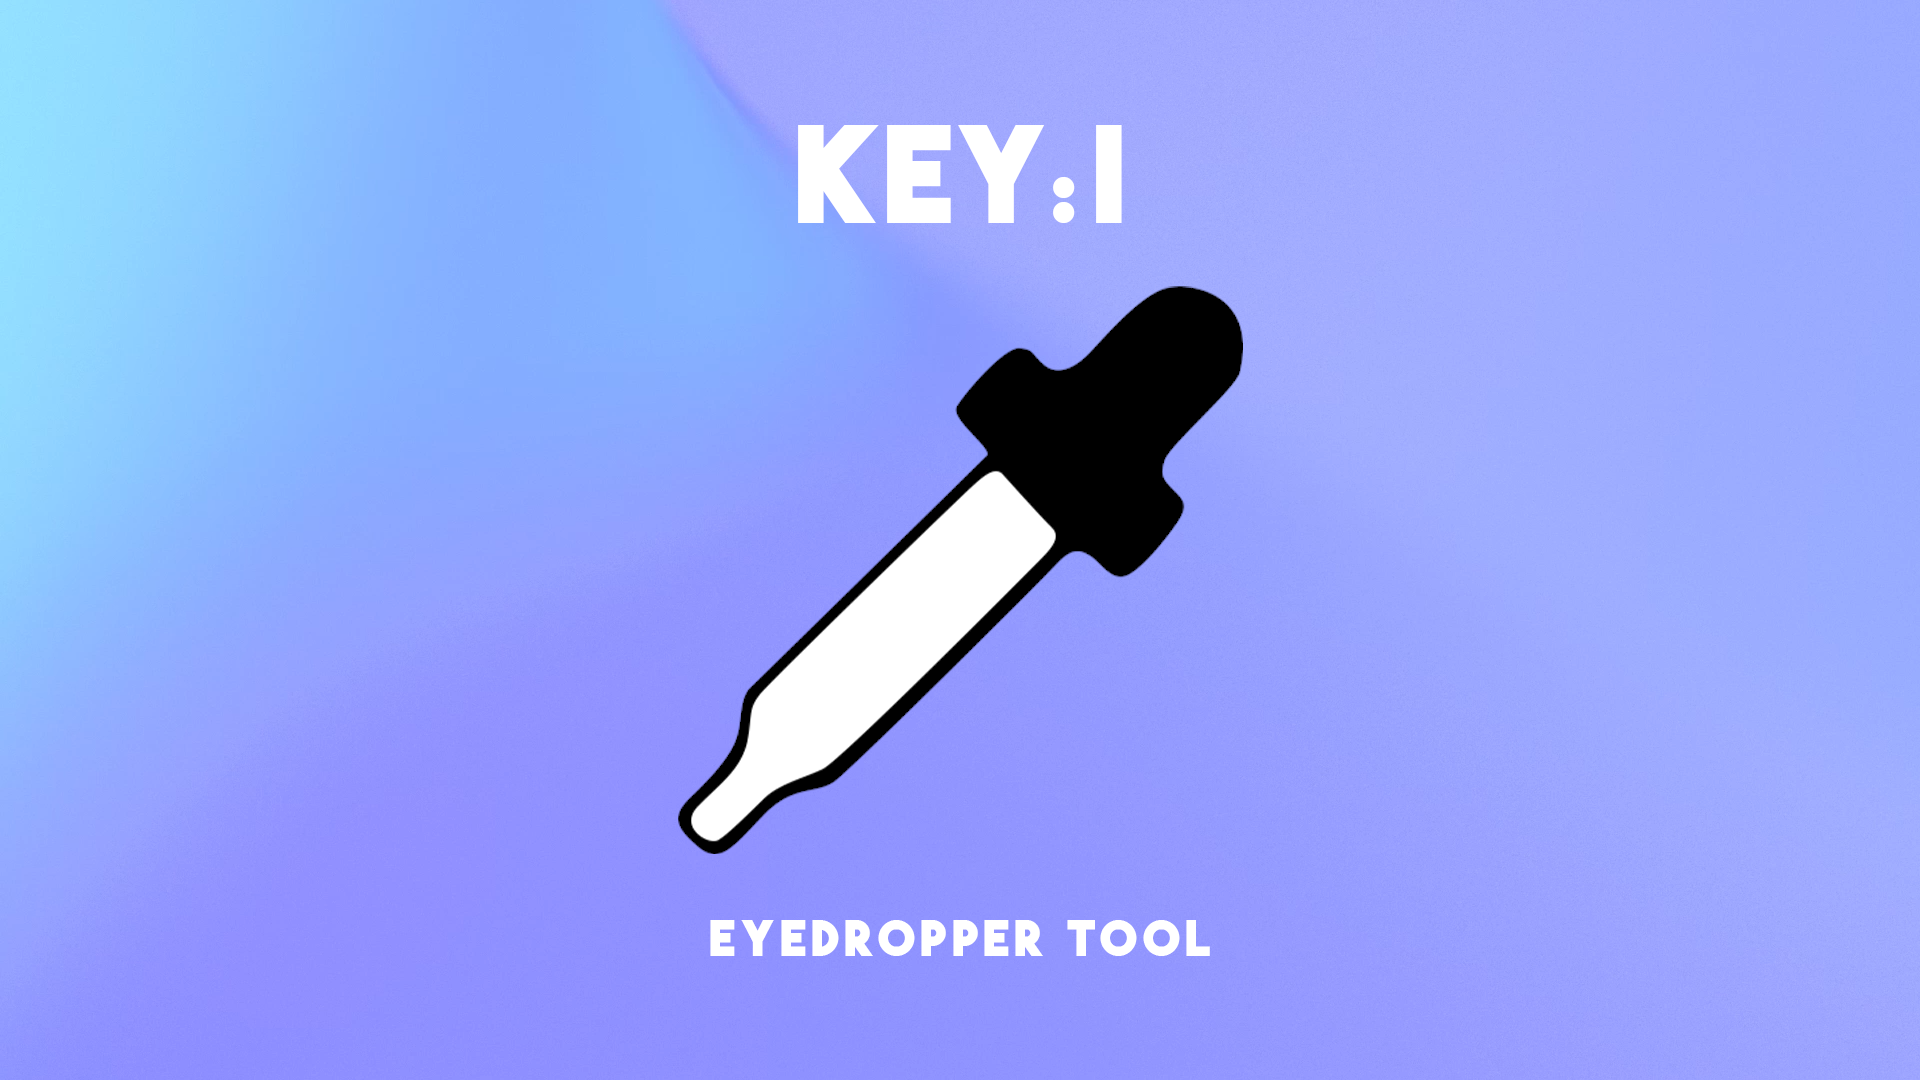
I - Eyedropper Tool
Eyedropper Tool (I) copy or move appearance attributes, such as color fill and strokes. First select the object that you want to change, then select the Eyedropper Tool and move it to the object whose attributes you want to sample and click. Now all the attributes will be copied over.
Simply go over to the Eyedropper Tool and double-click on it to bring up the Eyedropper Options. This will allow you to customize exactly what appearance attributes the tool picks up.
J - Column Graph Tool
In Illustrator, you can create different types of graphs and customize them to suit your needs. For example, to create a column graph, select the Column Graph tool (J), click where you want to create the graph. Enter a width and height for the graph, and click OK. Enter data for the graph in the Graph Data Window. Click the Apply button, or press the Enter key on the numeric keypad to create the graph.

K - Live Paint Bucket Tool
The Live Paint Bucket (K) is great if you need to color all overlapping pieces of your artwork. Hover over different sections in the art and notice how the section highlights in red. Go to the Swatches Panel and choose a color, then click a section in the art to apply it.

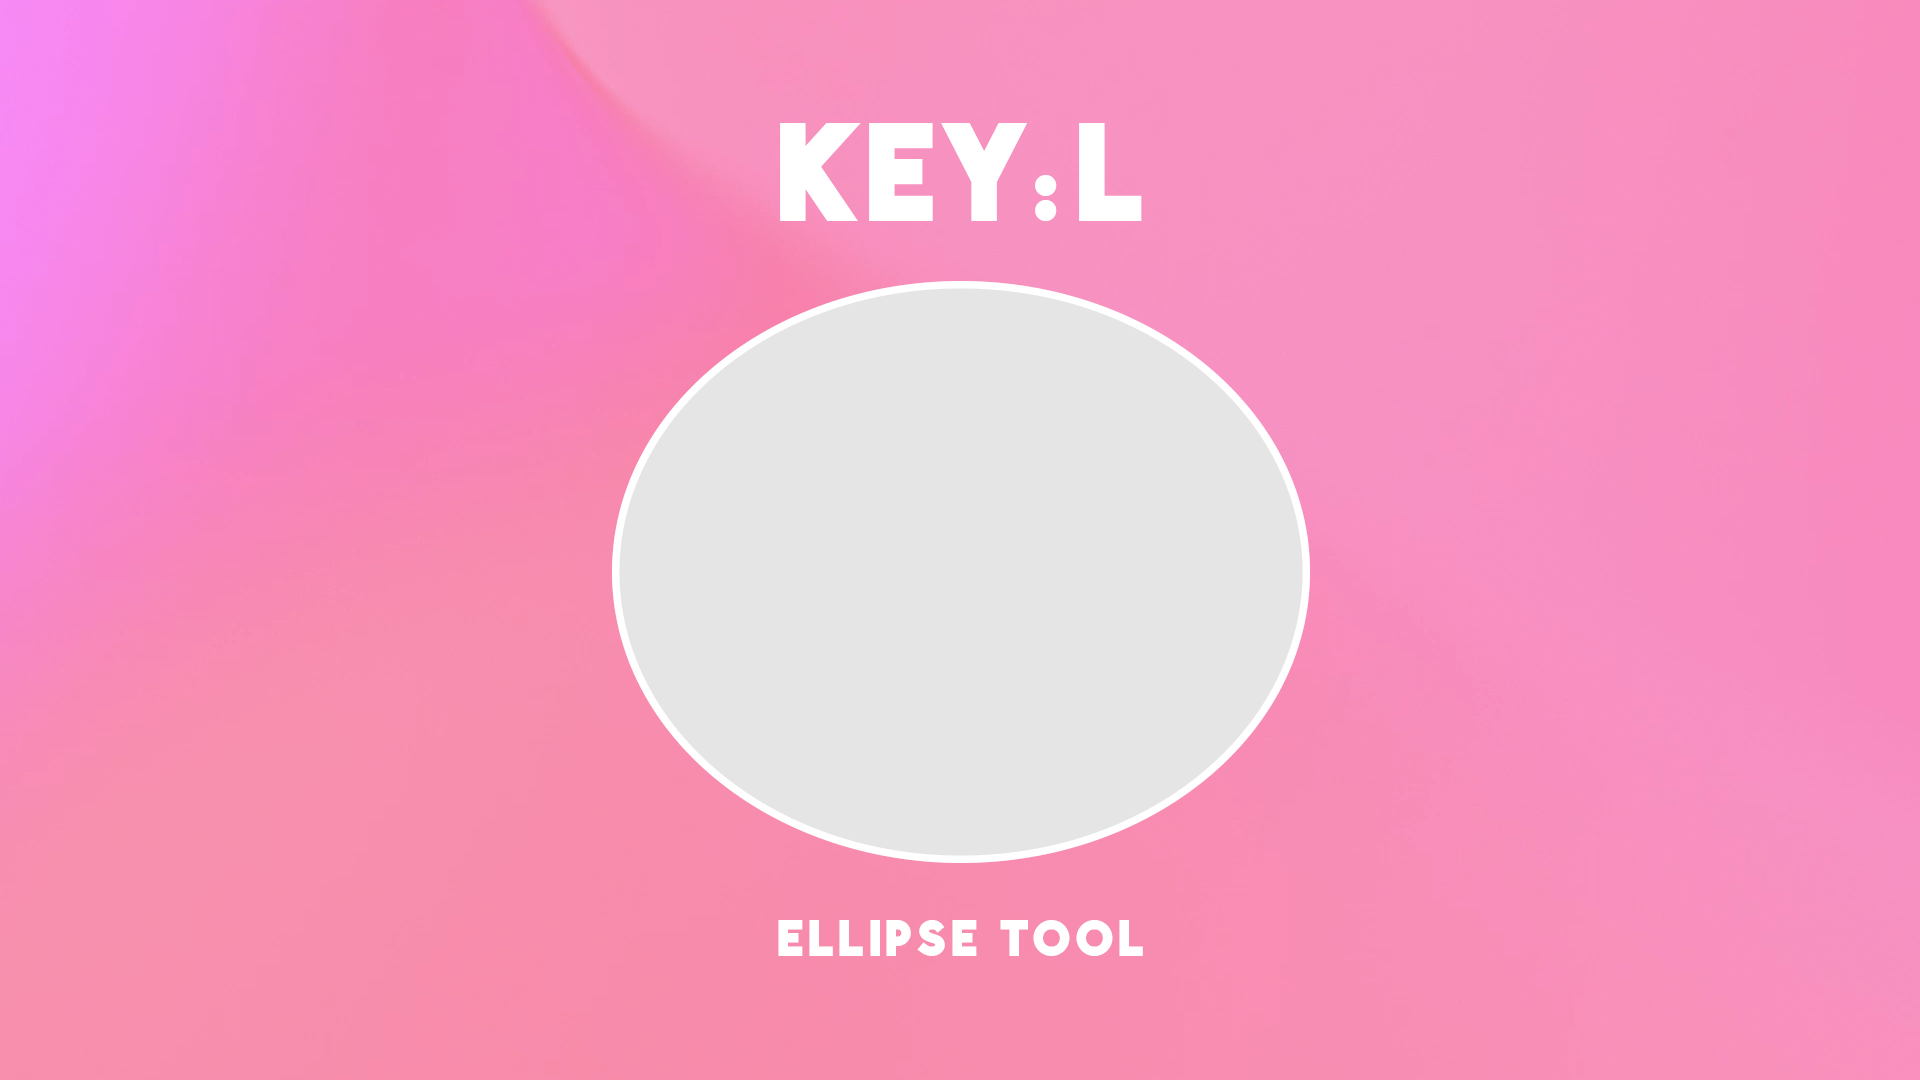
L - Ellipse Tool
The Ellipse tool (L) creates elliptical shapes and paths (shape outlines). To create a circle, hold down the Shift key while dragging, or you can click once on the screen and add the values.
Be creative, use your imagination to create a whole range of graphics using this tool. You may want to use simple shapes and lines in Illustrator to create your poster. The shape tool holds several shapes. You get to those other shapes by clicking and holding on it until a menu of shapes appears.
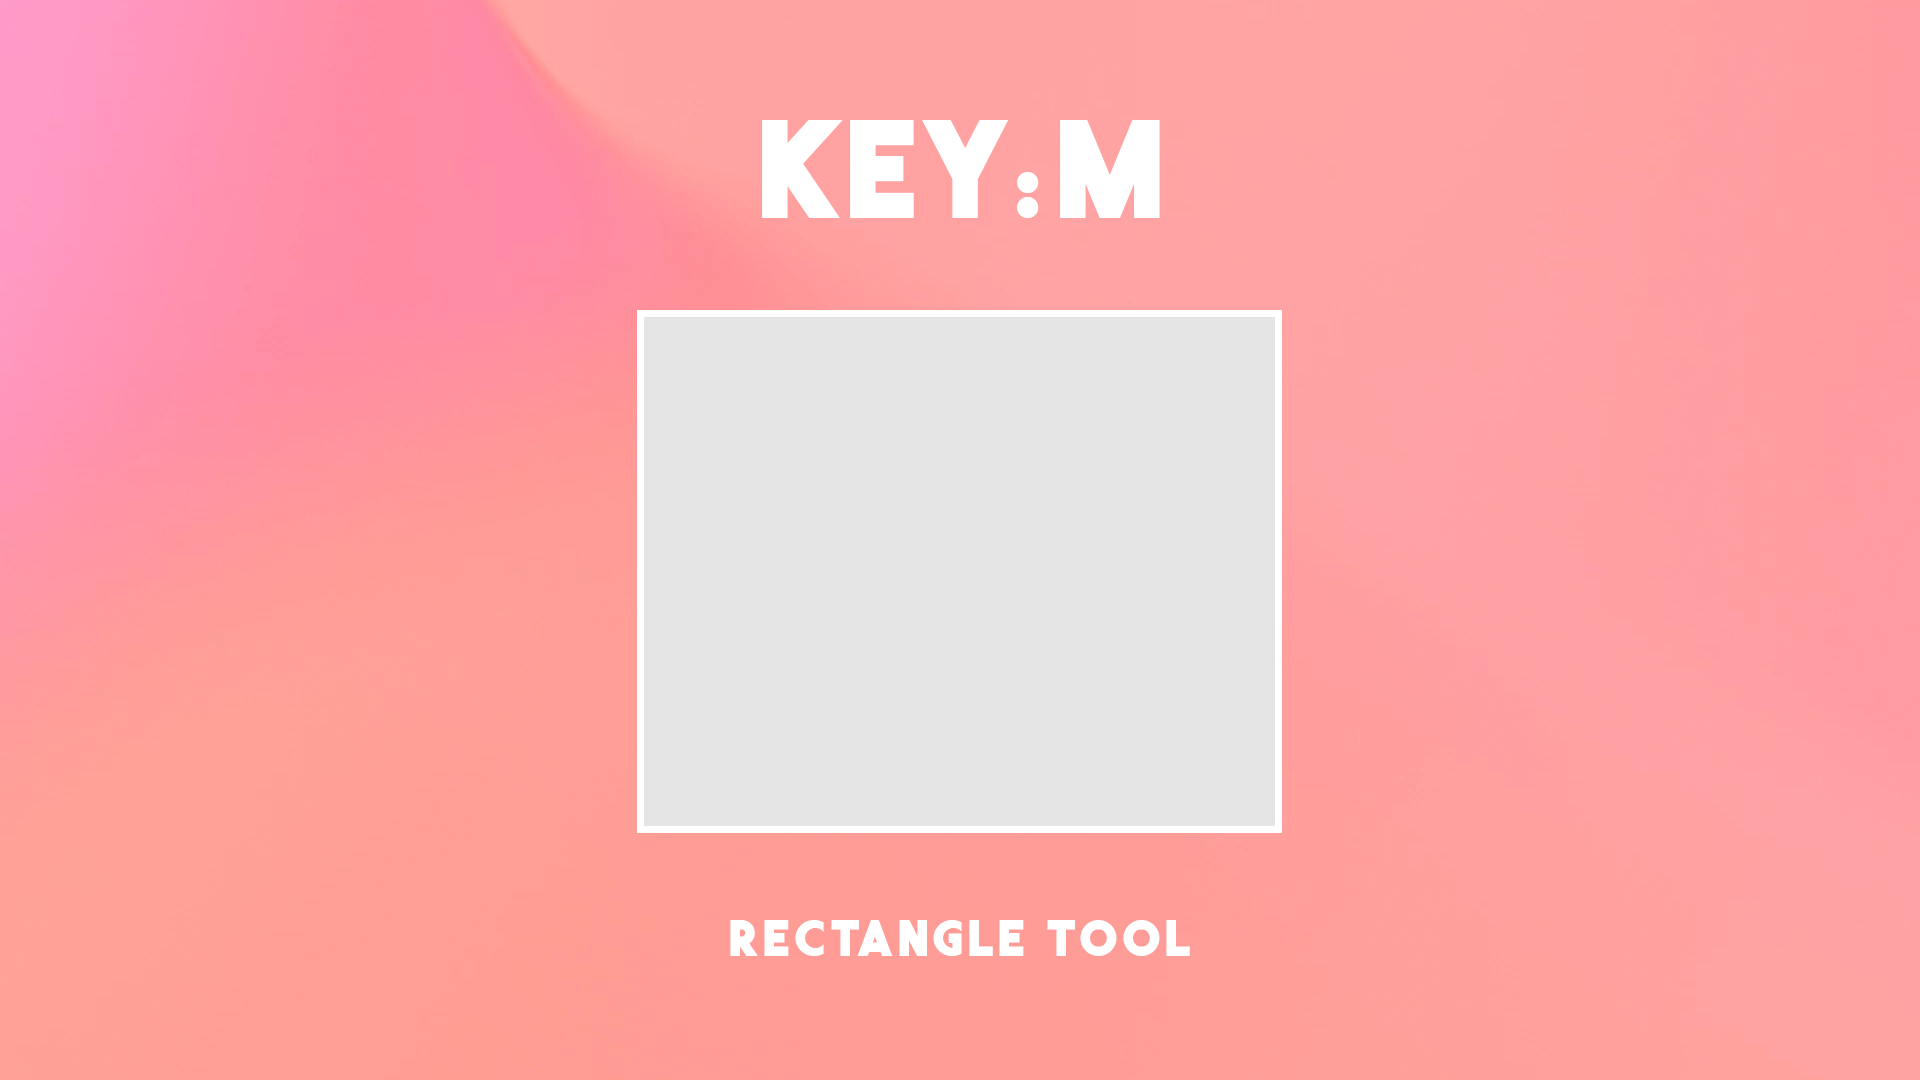
M - Rectangle Tool
Drag diagonally to draw a rectangle. To draw a square, hold down the Shift key and drag. To create a square or a rectangle using values, click where you want the top-left corner to be. Specify a width and height and click OK.
Be creative, use your imagination to create a whole range of graphics using this tool. You may want to use simple shapes and lines in Illustrator to create your poster. The shape tool holds several shapes. You get to those other shapes by clicking and holding on it until a menu of shapes appears.
N - Pencil Tool
The Pencil tool (N) lets you draw open and closed paths as if you were drawing with a pencil on paper. Before starting a new path, the pencil cursor will have a star next to it. A star signifies a start of a new path. Click and start drawing. The star symbol will disappear from the cursor. That shows you are currently working on a path.

O - Reflect Tool
Reflecting an object flips the object across an invisible axis that you specify. To reflect the object around the object's center point, choose Object > Transform > Reflect or double-click the Reflect tool (O). To reflect the object around a different reference point, Alt‑click (Windows) or Option‑click (Mac OS) anywhere in the document window.

P - Pen Tool
The Pen tool (P) is one of the most powerful drawing tools in Adobe Illustrator. The pen tool is a path creator. You can create smooth paths that you can stroke with a brush or turn to a selection. This tool is effective for designing, selecting smooth surfaces, or layout.

Q - Lasso Tool
The Lasso tool (Q) lets you select anchor points, path segments objects, by dragging around all or part of the object.

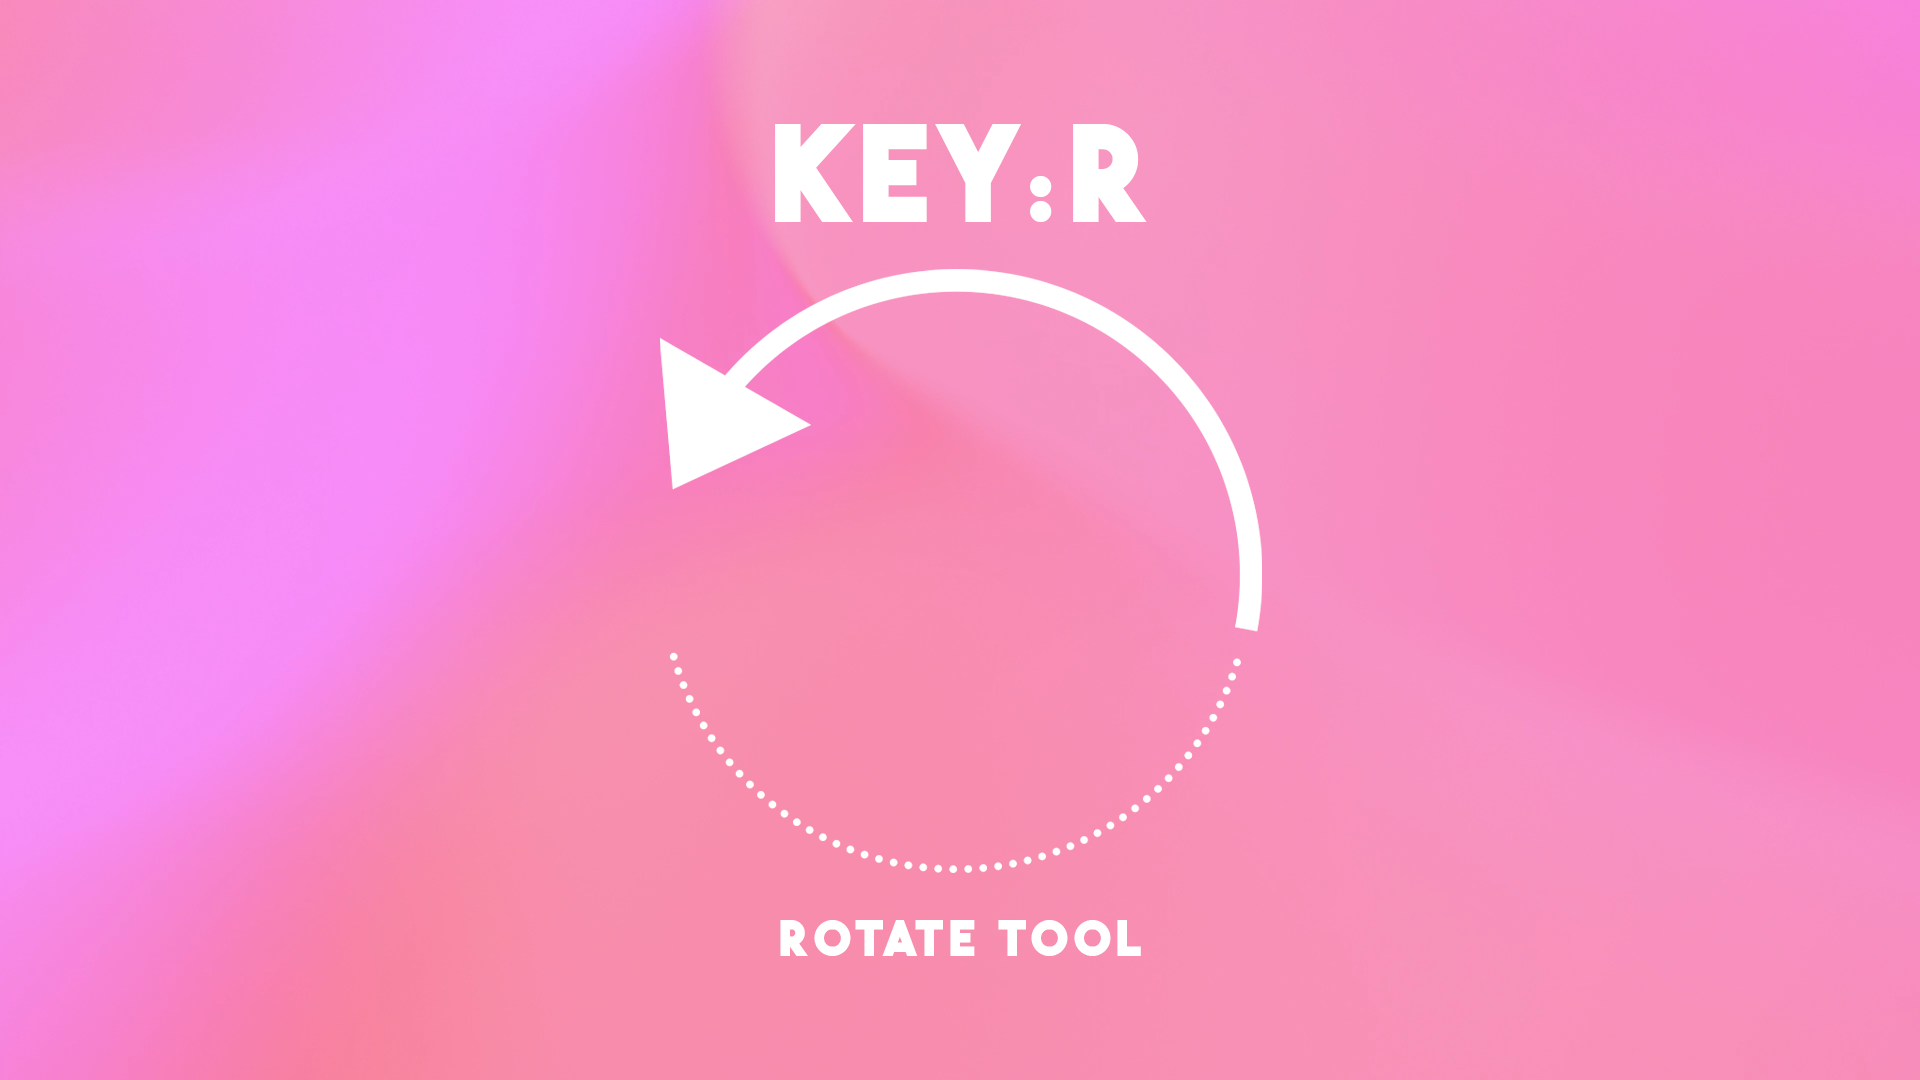
R - Rotate Tool
Rotating an object turns it around a fixed point that you designate. Select one or more objects, select the Rotate tool (R).
To rotate the object around its center point, drag in a circular motion anywhere in the document window.
To rotate the object around a different reference point, click once anywhere in the document window to reposition the reference point. Then move the pointer away from the reference point and drag in a circular motion.
To rotate a copy of the object instead of the object itself, hold down Alt (Windows) or Option (Mac OS) after you start to drag.
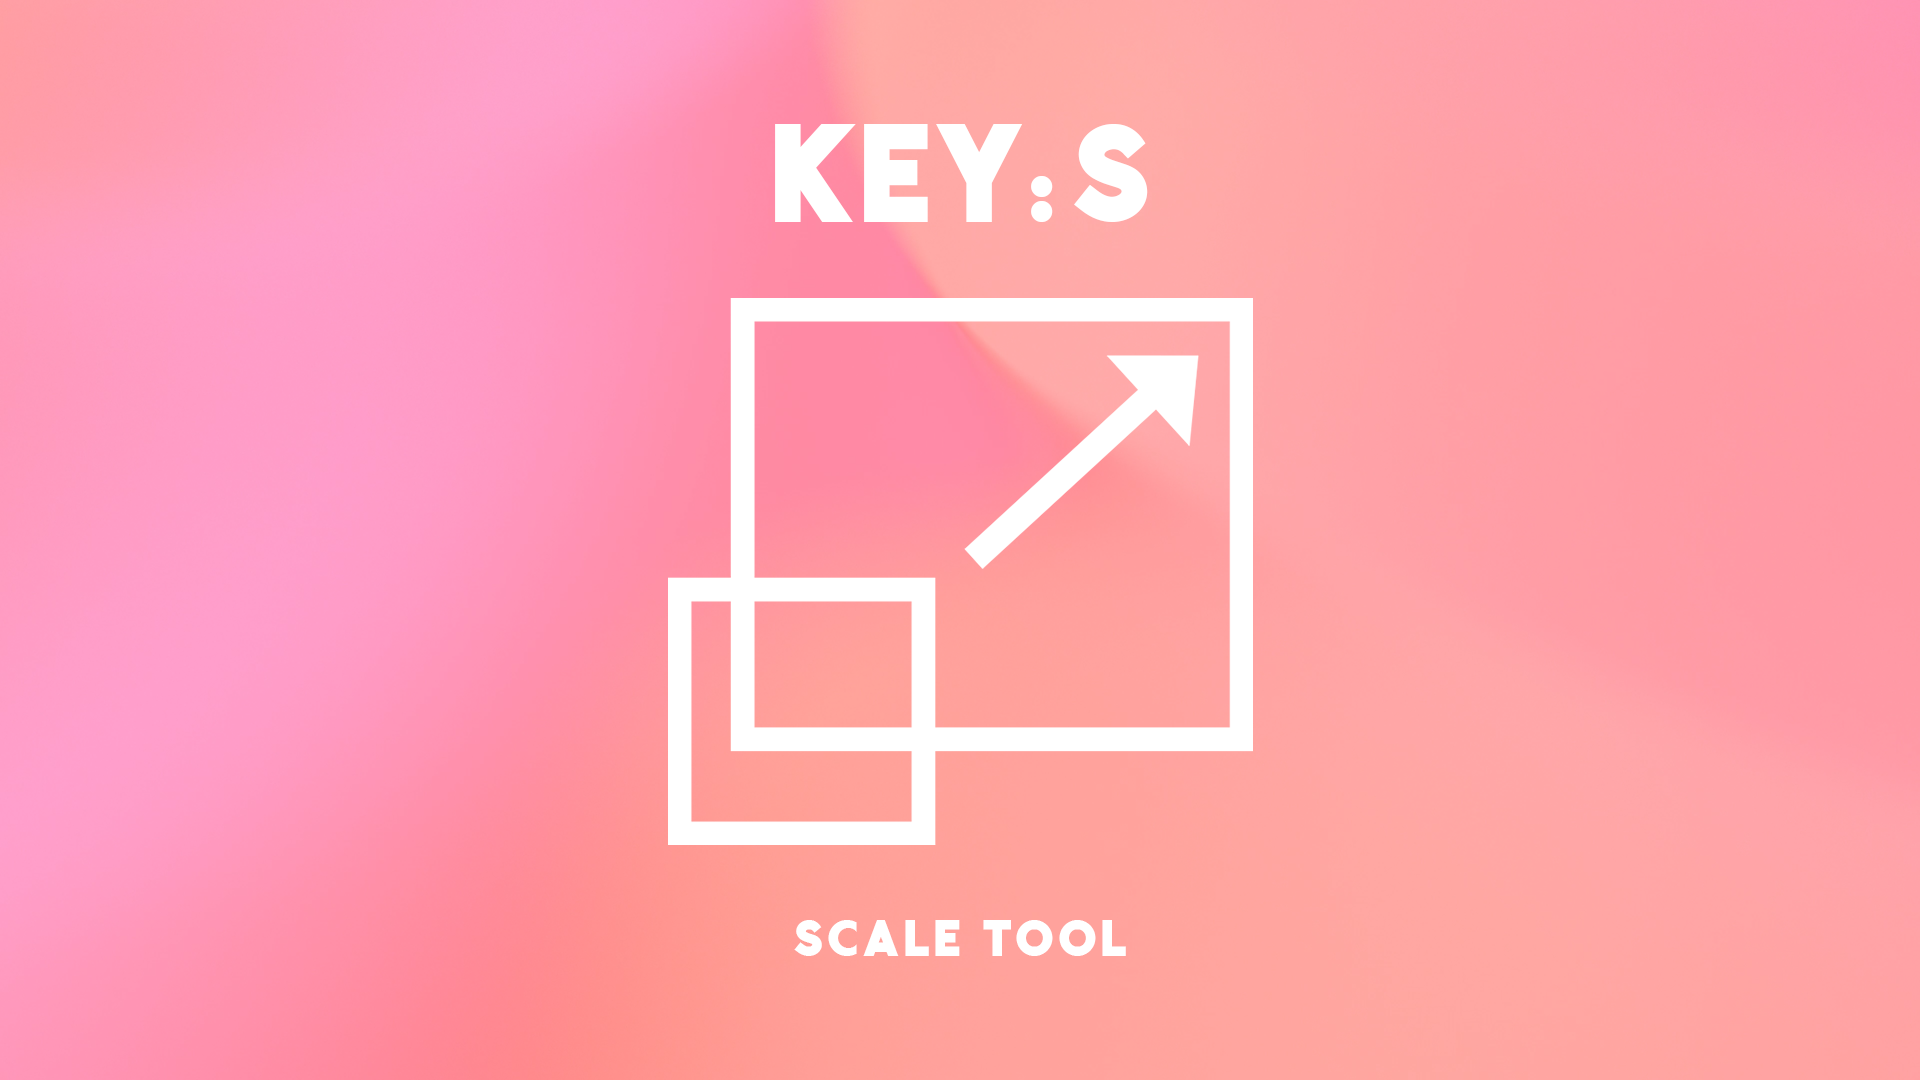
S - Scale Tool
The Scale tool (S) allows you to easily resize in Adobe Illustrator. You simply select an object and then click and drag.
T - Type Tool
You can use the Type tool (T) in Illustrator to create logos, posters or flyers with text.

U - Mesh Tool
This is a super powerful tool that can make your vector illustrations looks more 3D, or photorealistic. It works by adding a 'mesh' over a closed shape, the lines of the mesh intersecting at points onto which different color swatches can be applied to create a vectorized image.

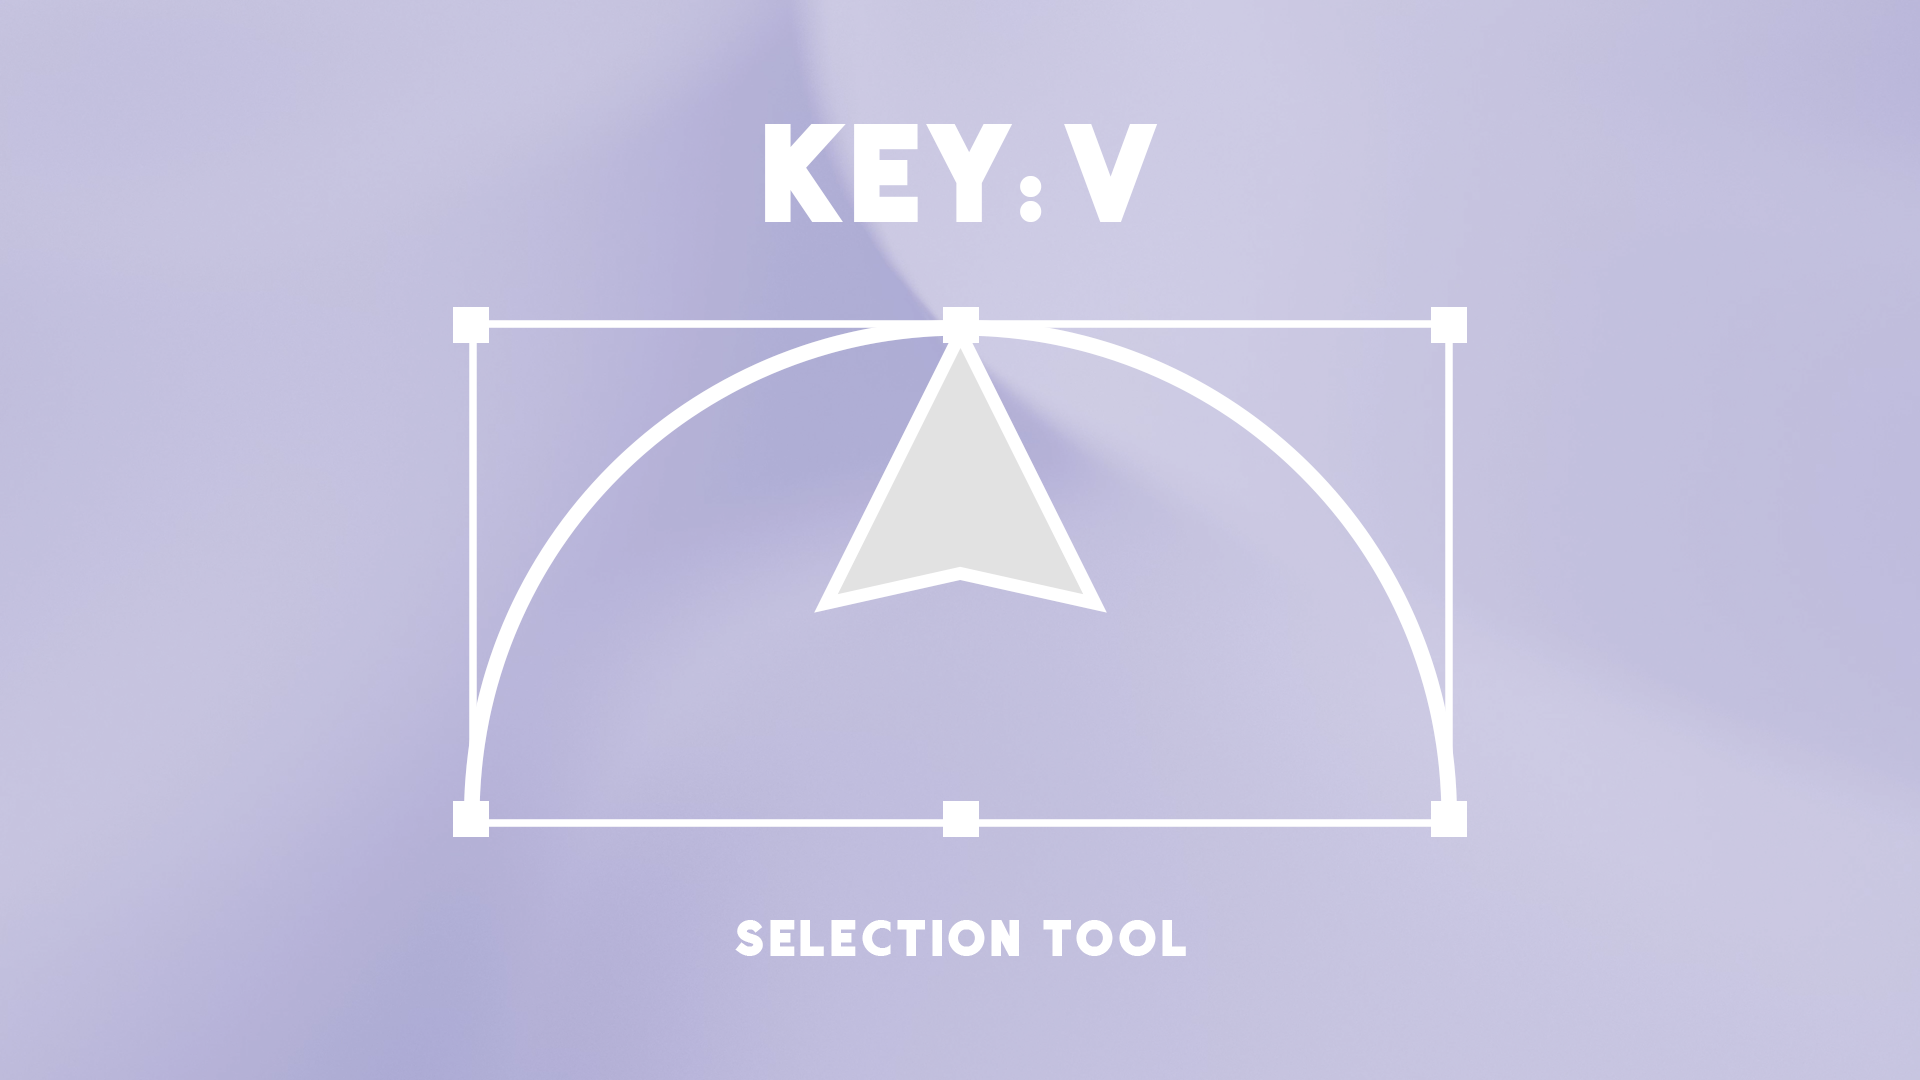
V - Selection Tool
Selection tool (V) is designed to select regions from the active layer so you can work on them without affecting the unselected areas.
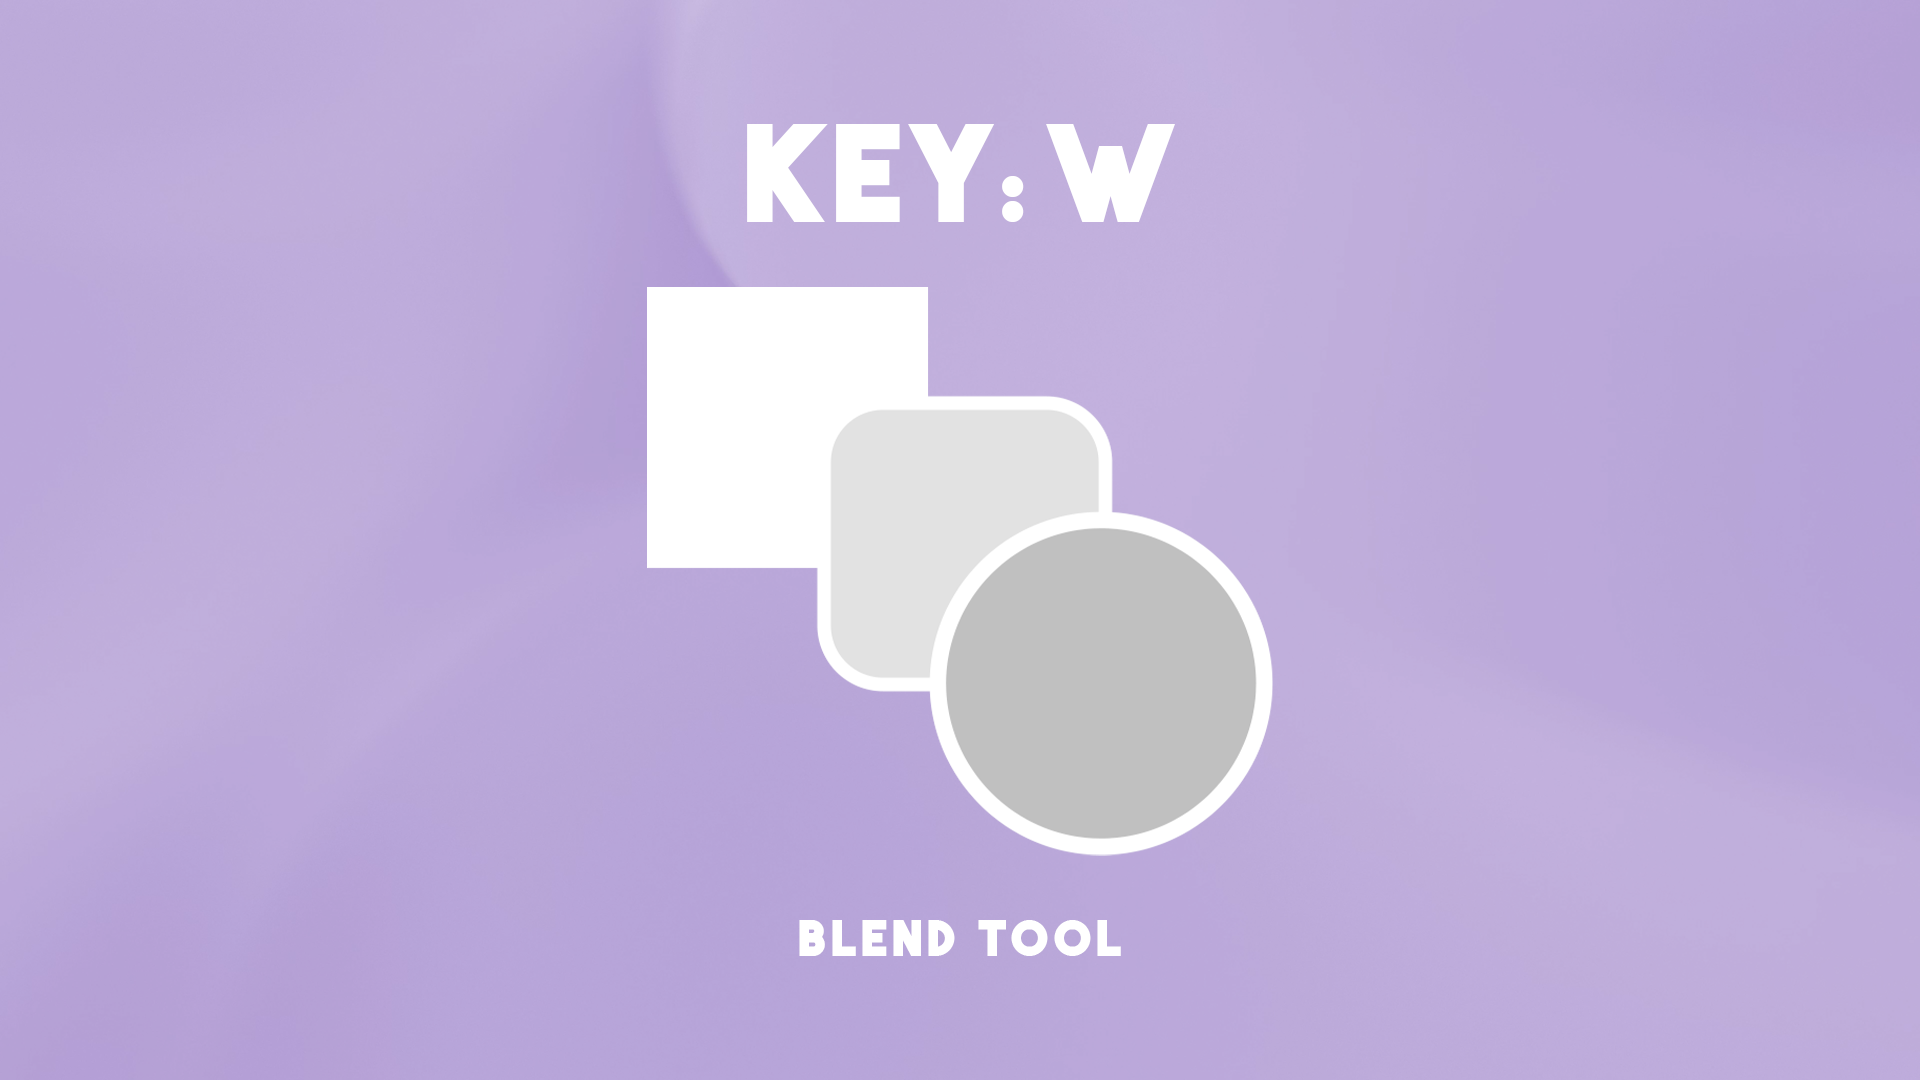
W - Blend Tool
With Blend tool (W) you can create blends - a series of intermediate objects and colors between two or more selected objects.
Smooth Color - Illustrator auto-calculate the number of steps for the blends. If objects are filled or stroked with different colors, the steps are calculated to provide the optimum number of steps for a smooth color transition.
Specified Steps - Controls the number of steps between the start and end of the blend.
Specified Distance - Controls the distance between the steps in the blend.
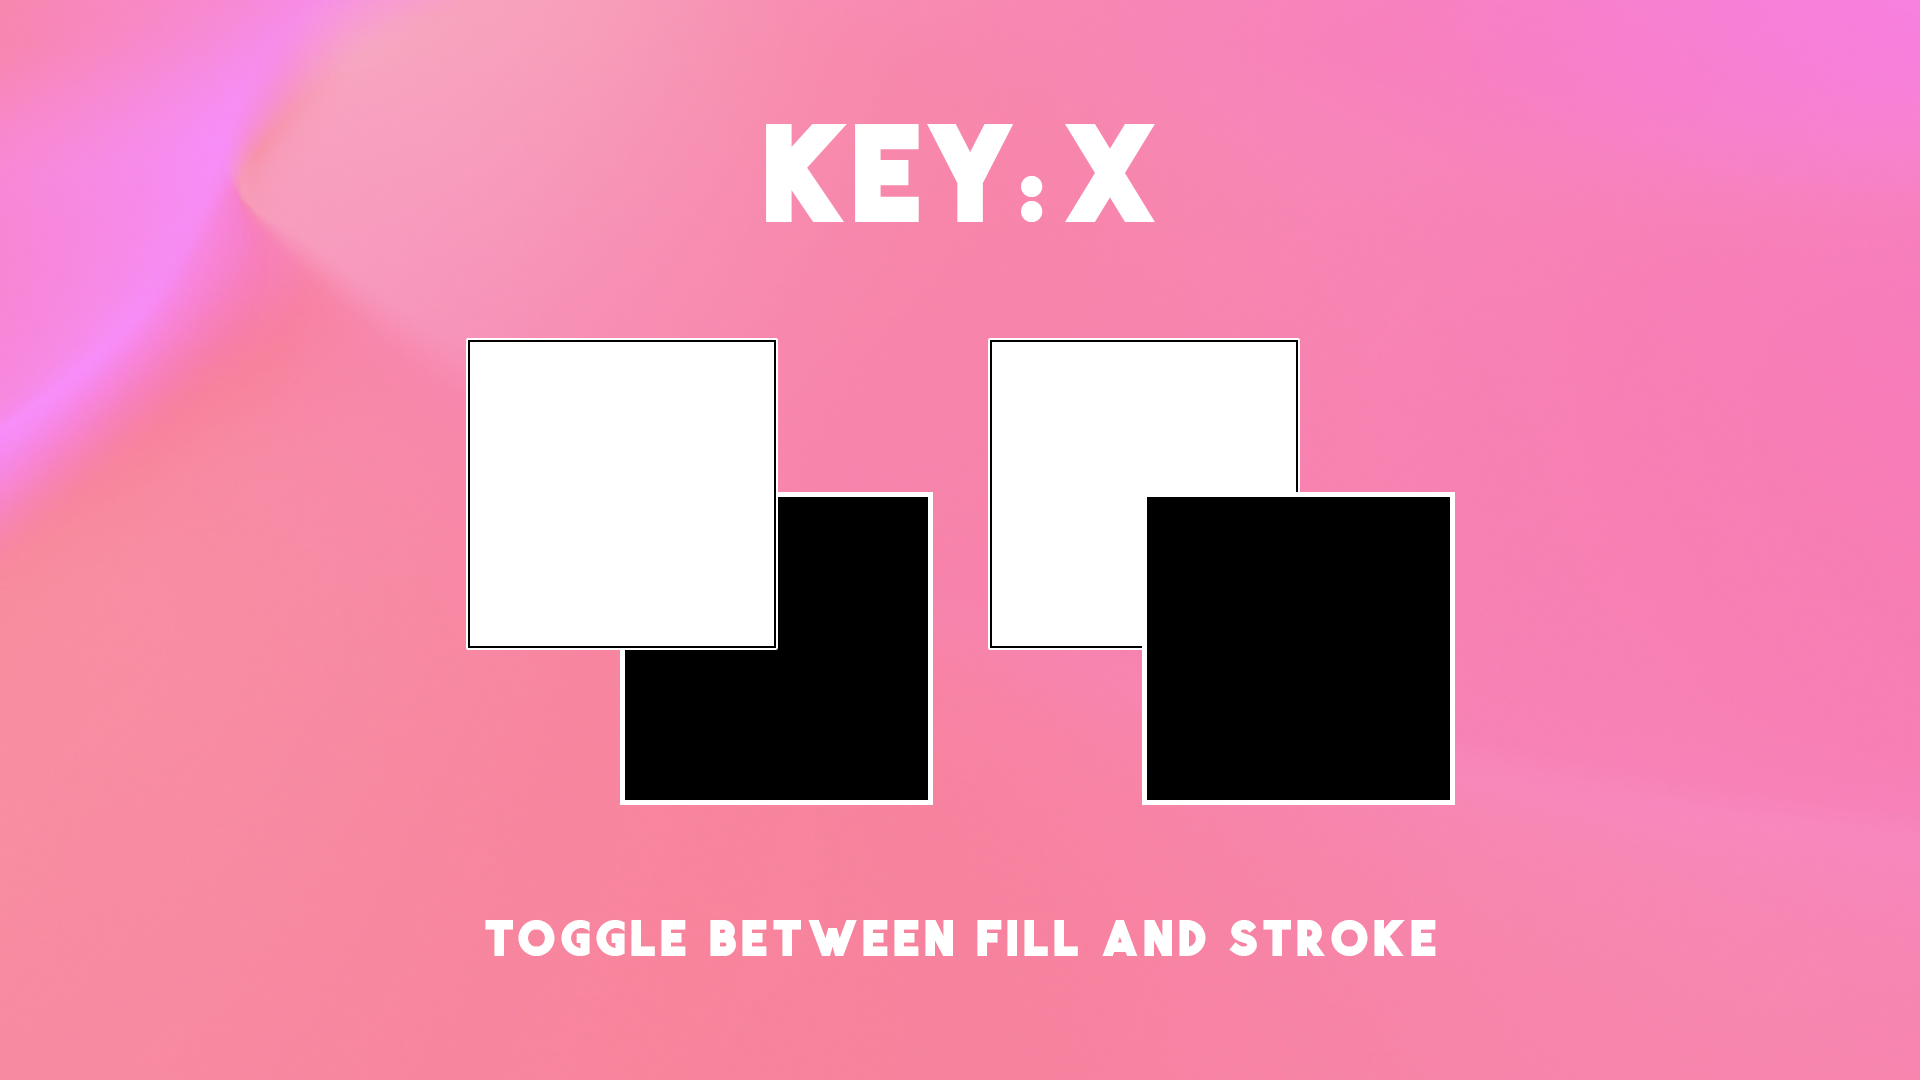
X - Toggle between fill and stroke
You can quickly change the fill and stroke attributes of any selected frame by pressing the following keys:
Press the X key to toggle between the Stroke and Fill attributes
Press Shift-X and the fill color and stroke color will swap places.
Y - Magic Wand Tool
Magic Wand tool (Y) lets you select objects of the same color, stroke weight, stroke color, opacity, or blending mode by clicking the object.
To create a selection, click the object containing the attributes you want to select. All objects with the same attributes that were clicked are selected.
To add to the current selection, press Shift and click another object containing the attributes you want to add. All objects with the same attributes that were clicked are also selected.
To subtract from the current selection, press Alt (Windows) or Option (macOS) and click the object containing the attributes you want to subtract. All objects with the same attributes are removed from the selection.

Z - Zoom Tool
Using the Zoom tool (Z) you can click the Document window to zoom in. To zoom out, Alt-click (Windows) or Option-click (Mac).
